Having received a lot of questions on how I created a recent product shoot I thought I’d do a quick “Behind The Scenes”. Due to the Covid-19 lockdown, this was not an “ideal setup”. The shoot was to relieve the boredom of lockdown and took place in the lounge of our tiny flat. I had only a few pieces of equipment laying around as most was in the studio! If you prefer to read rather than watch follow on below
Step 1: Creating the lace people
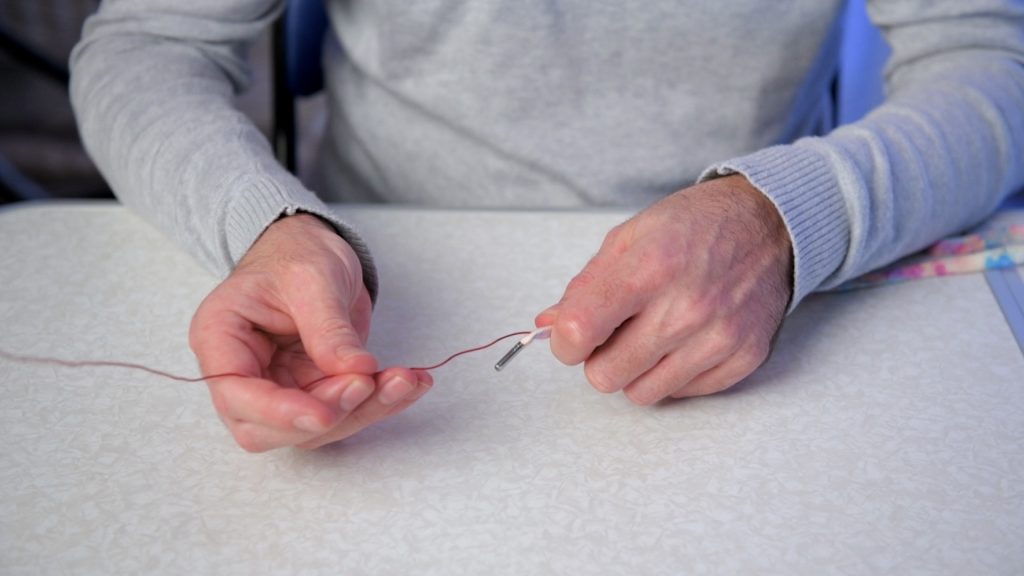
The first thing I did was make the laces into small figures. Many thought this was a photoshop manipulation but the reality is so much simpler. Pushing a thin piece of wired down inside the lace, just beside the aglet, it will be totally hidden. Once it’s in there you can easily bend the laces into any form you want.
Step 2: Setting the scene
Laces sorted, the next job was to get everything suspended in mid-air. Normally when photographing shoes, I would mount them on what I can only describe as a wooden foot shoved on a stick. Unfortunately I didn’t have that at the flat. I decided to try a method we employ in food photography for deconstruction shots, where we hang the product from a stand using fishing line. My fishing line is however sat beside the wooden foot on a stick… A quick search of the flat and the only suitable alternative I could find was dental floss.
Dental floss is thicker and much more opaque than fishing line but product photography always requires some post processing. Even fishing line would need to be removed in photoshop, the floss just requires a little more work. Coloured card sheets hung behind the shoes give a starting point for the background. Adding the ball was the final detail. Just in case you’re wondering, that came from the kitchen out of a Jamie Oliver Flavour Shaker. Wrapping the ball in floss gave it the appearance of a basket ball.

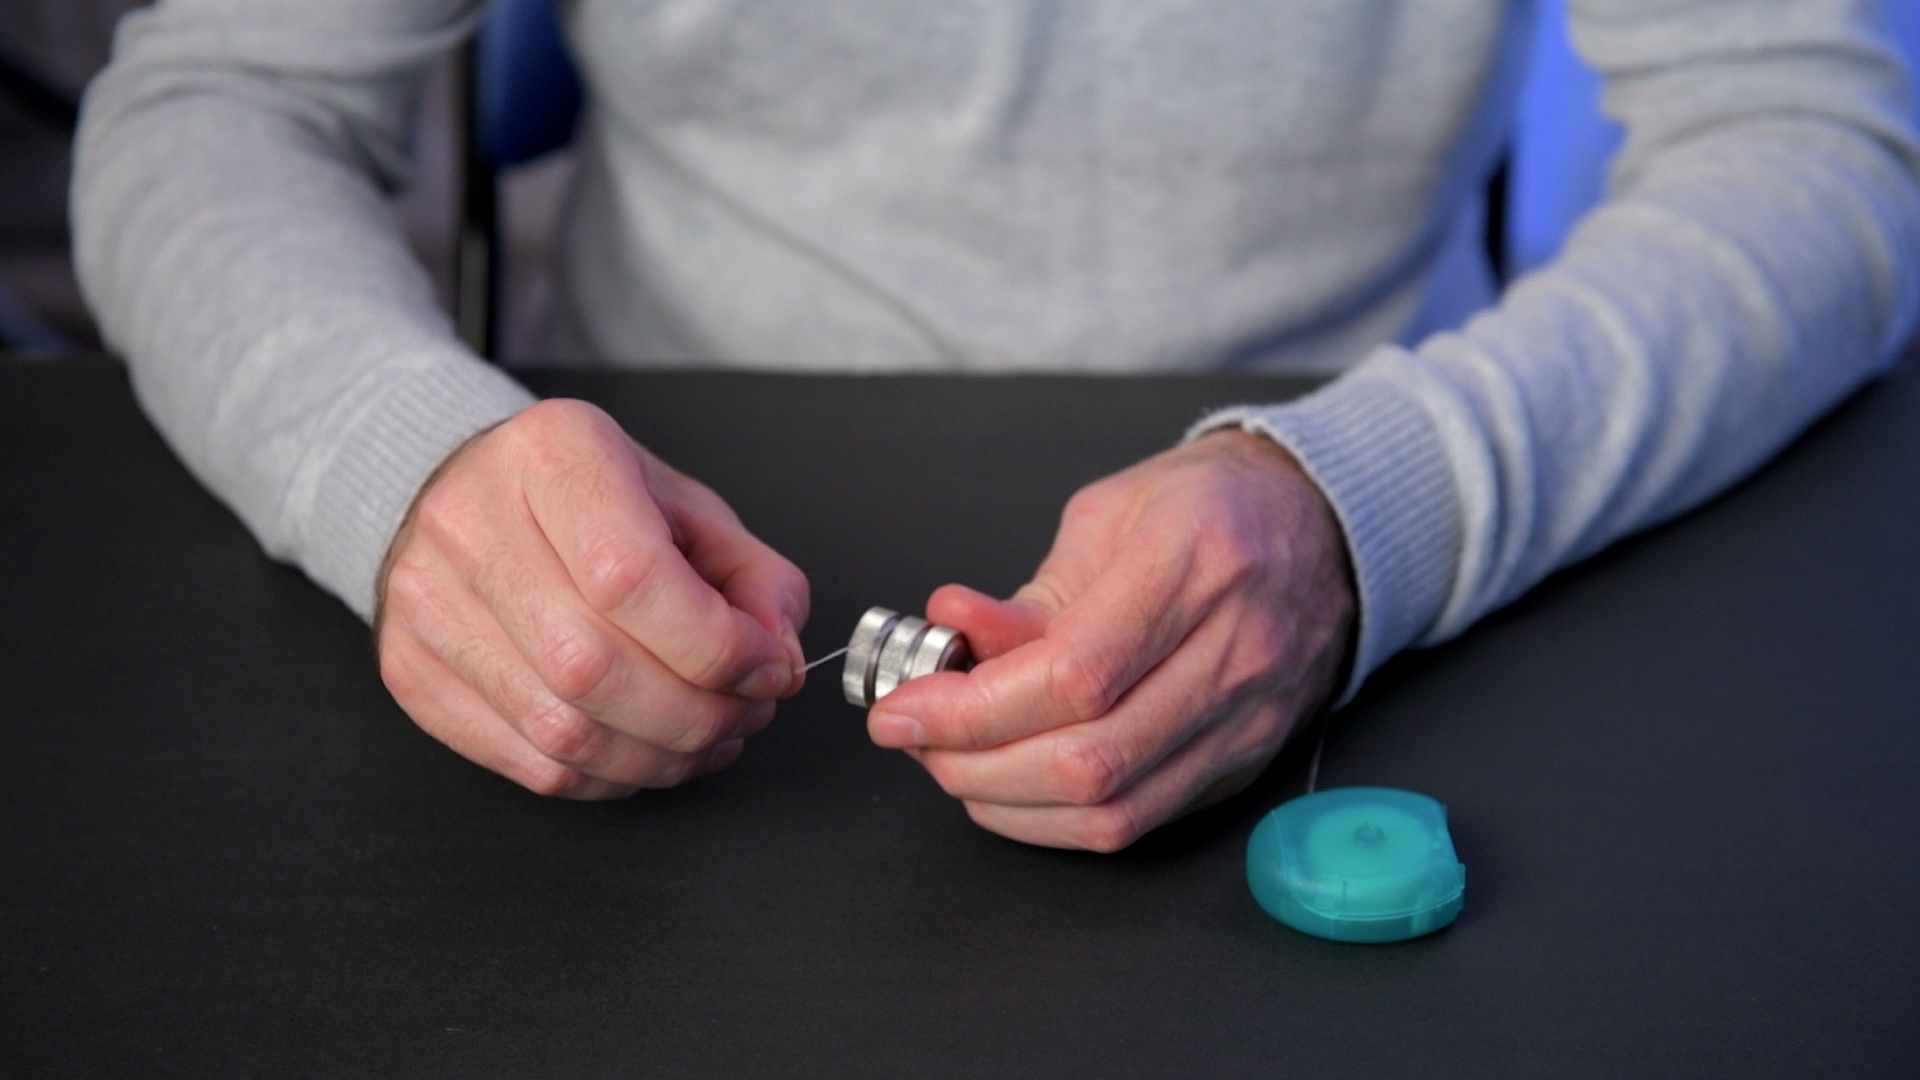
A quick tip if want to suspend a product using fishing line or dental floss: Rather than tying knots in the line to hold the product in place, use small camera thread converters stacked together to clamp the line between. It’s easier to get things where you want them. It’s also simple to adjust the position of the product if needed as you don’t have to undo fiddly knots. They’ll thread straight onto any of your standard photography fittings making it a very convenient solution.
camera thread converters stacked to create line clamps
Step 3: Lighting the scene – Key light.
With everything in place composition wise, it’s time to turn to the lighting.
The mood to be conveyed is the foremost consideration in any lighting setup. Do you want dramatic, fun, high key/low key etc. Another important aspect in product photography however, is the texture and surface of the product itself. The various textures on the shoes such as the weave of the fabric, detailing along the sole and etc all need to be captured.
A large soft light source set close to the axis of the lens wouldn’t really highlight these textures very well, The result would be pretty flat and uninteresting, as can be seen in this example where I placed a 120cm softbox just slightly above the lens.

The other consideration is the limited equipment I have available to work with here. With these facts in mind, starting with the key light I chose a relatively small collapsible beauty dish from PixaPro, which I’ve paired with a Pika 200. I’ve placed it high above the shoes at almost 90 degrees to the lens axis, feathered slightly toward the rear. This allows me to emphasise the textures, create a grounding shadow, and illuminate the backdrop all at the same time.

It gives a good starting point but as it’s lit from above, the underside of the sole is a little dingy and the shadow on the base board is quite heavy, detracting from the fun, bright look envisaged.

Step 4: Lighting the scene – Fill light
Adding a second Pika200 aimed just below the shoe with a standard 55 deg reflector fitted, we can really bring out the underside of that sole and use the spill to lift the shadow on the left side of the base board.
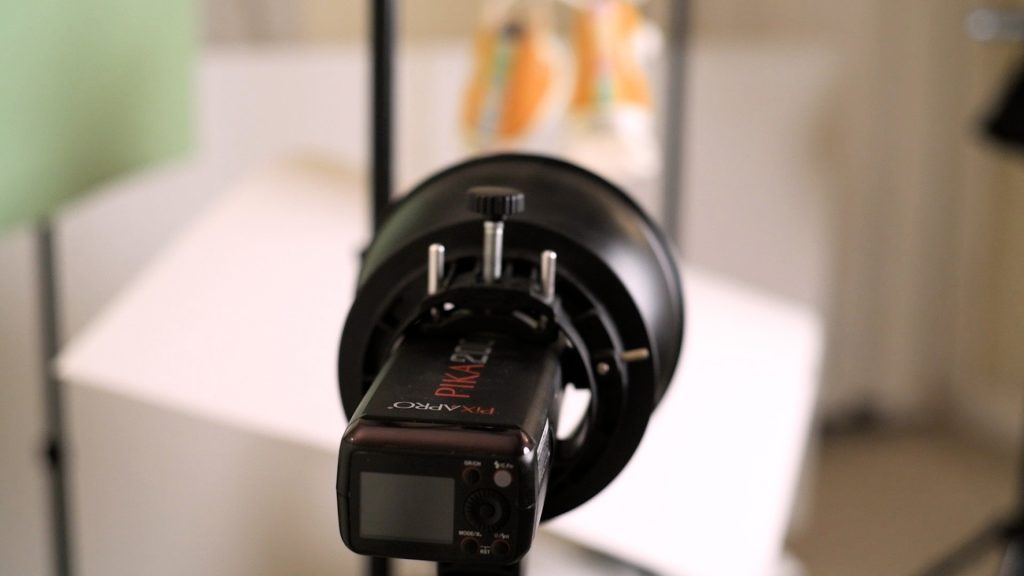
With just the reflector fitted, there will be way too much light spill over the image.

Adding a 10 degree grid will narrow that beam of light, bringing most of the spill under control.

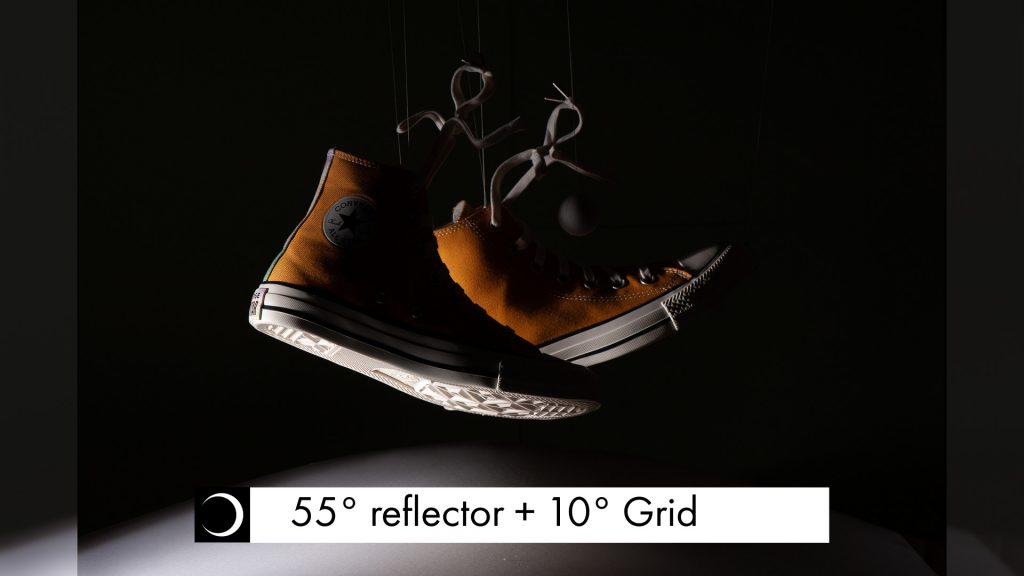
There is still a bit too much spill lighting the back and sides of the shoes. Simply adding a small black “flag” (a piece of black card) between the light and product being photographed leaves just the areas we wanted lit.

Adding the Key and Fill light together gets us 90% of the way there. The last things to address are a shadow on the edge of the sole, and to lift the grounding shadow on the right side of the base board a touch.

Step 5: Lighting the scene – Detail light
Adding a third light in just the same way that I added the second, this time using a Pixapro speedlight, the 580-mark 2, with a 50 deg grid and another black flag will take care of those.

Step 6: Photographing the subject
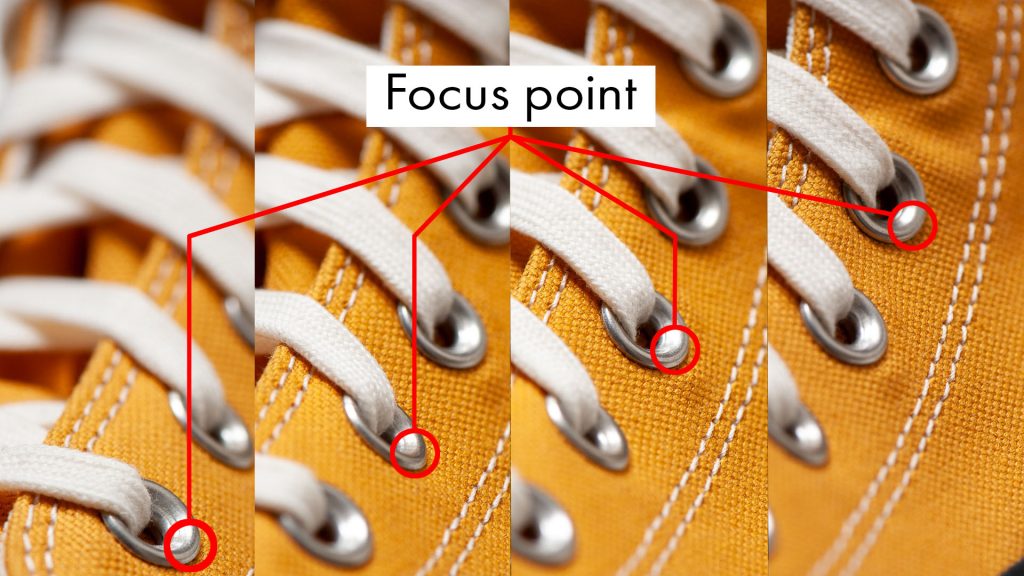
Bring all the lights together and everything is ready to shoot. With product photography it is usually desirable to have the entire subject in crisp, sharp focus all the way from front to back. This ensures you bring out the all product details. To get the greatest depth of field (DOF) it is usual to close the aperture if of the lens down as far as possible, however that introduces a significant problem – diffraction. Diffraction is a very lengthy discussion to have relating to the physics of optics. Too much discussion for this blog, suffice to say that the result is actually reduced detail and sharpness.
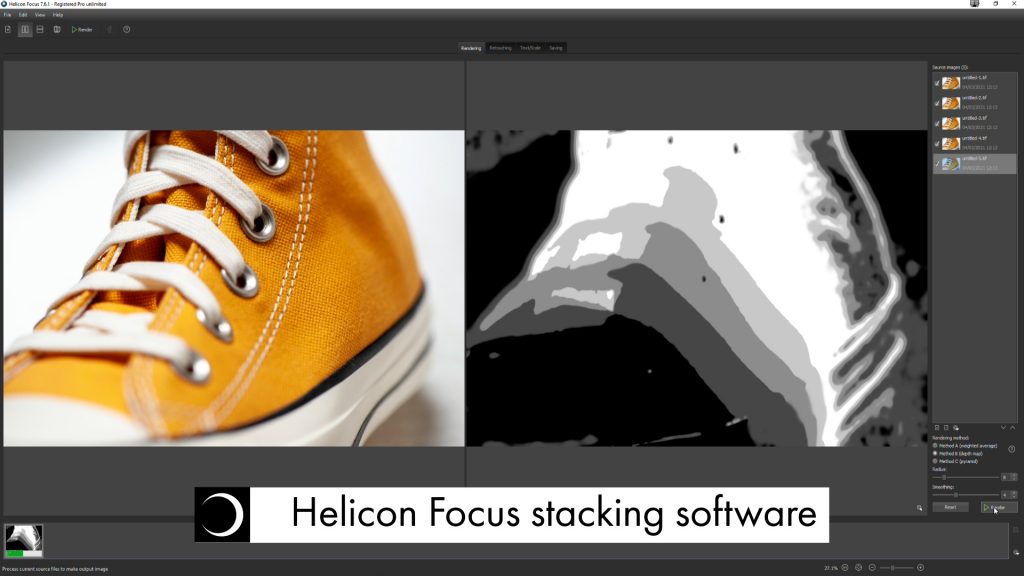
To avoid this I used a technique called Focus stacking. Focus stacking involves taking several shots with the focus plane moved progressively further back. Software is used to then compile the images using only the sharpest elements from each one. I personally use Helicon Focus as it’s proven the most reliable and simple. It just works. Being a stand alone product they have concentrated on perfecting that one aspect, but it integrates perfectly with Adobe software as well. Click here to view their products and examples of use, I shall compile a blog on my use in the near future so do check back.
Step 7: Final retouching
Once all the stack is shot and compiled, all that’s left to do is some post processing. Time spent getting everything as close to perfect as possible in camera means very little retouching is needed. The main tools used in photoshop were:
Heal tool (to remove the floss).
Patch tool (to clean up the background)
Hue/Saturation adjustment layer (to tweak the background colour)
Liquify tool (to clean the curve on the base board, retouch the lace people)
Curve adjustment layers.


So there we go, that’s how I went about creating these product shots.
As with everything photographic, this is not the only way to achieve such an image. It’s not even the way I’d usually do it but it’s good to practice with what you have available. I certainly hope there’s been something useful for you to take away from this.
If you would like to see more product photography by DaVincent Photography, head over to our Portfolios

