I was recently asked to come up with a shoot to introduce proper photographic equipment to some of our younger generation.
The brief was to create a setup that would result in bright, colourful images, but without too much expense. After a bit of thought I decided to re-work an old favourite: Oil on Water.
Frankly it’s a great shoot for anyone to do, from children to seasoned pro. With only a couple of aspects that need careful attention, once setup you can get an endless variety of results and you don’t need high end equipment to see amazing images.
What you will need – The Photography Equipment
Camera
Firstly we obviously need a camera. Keeping the budget in mind I’m chose the trusty Nikon D700. Once a high end professional camera, you can now pick up one of these workhorses for under £200.

Lens
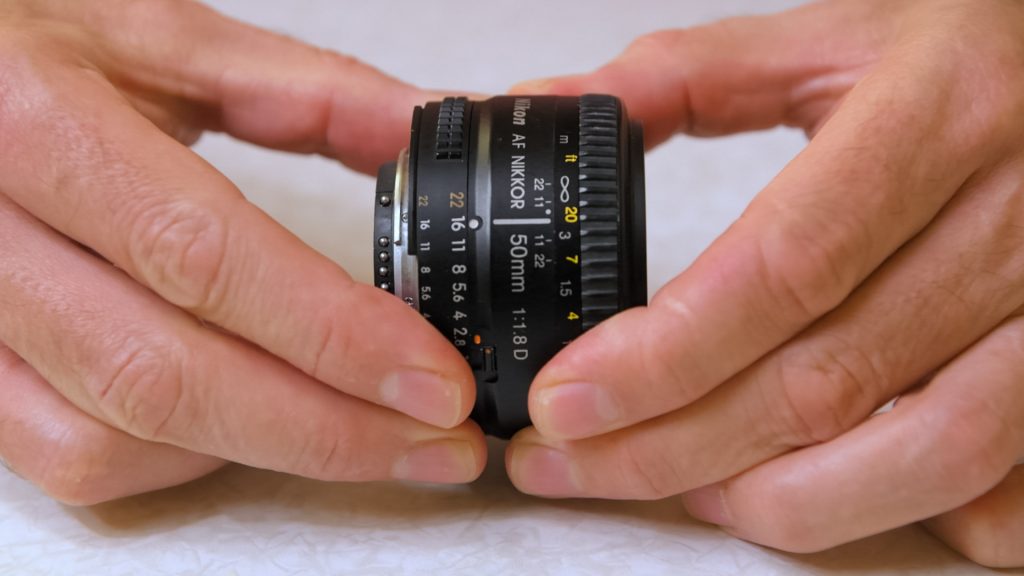
For the lens, I am using an old 50mm 1.8. It was for sale for £20 and has something that most modern lenses lack; an aperture ring. That is very important as you will see in the next step.
Macro Tubes
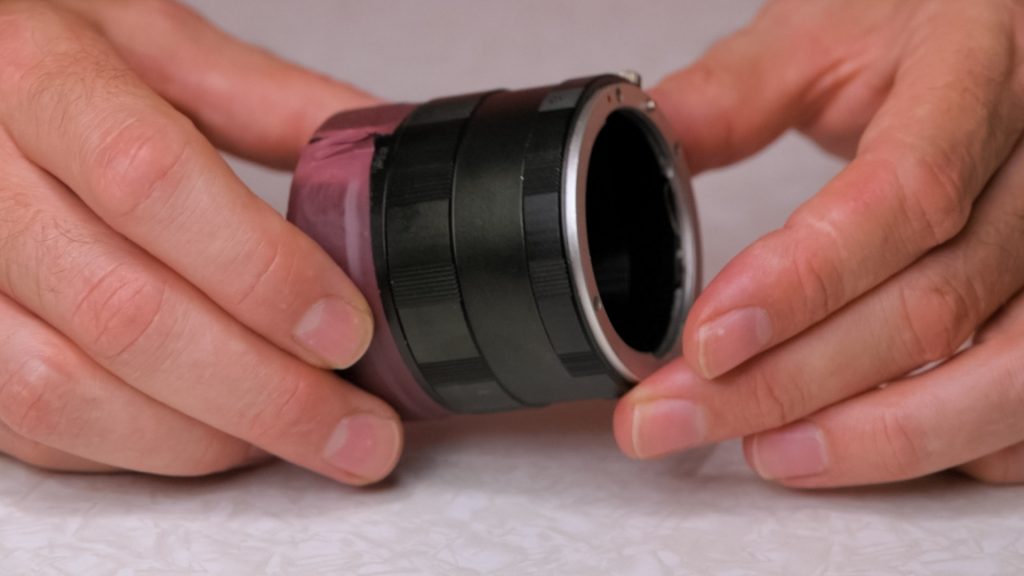
To go between the lens and the body, we will be using macro tubes. Under £10 on ebay, they’re essentially just metal cylinders that act as a spacer between the camera and lens mounts. Moving the lens further away from the camera reduces the minimum focus distance. This means you can get closer to the subject, so the subject will appear larger in the camera. They essentially magnify the item you are photographing.
The downside of these cheap ones is they don’t have electrical contacts or mechanics in them. The camera cannot automatically focus or set the aperture. Hence the 50mm with an aperture ring on it, so we can do that manually.
To keep everything in the right place we also need a tripod. You can pick up an older basic one for under £10 second hand.
Flash
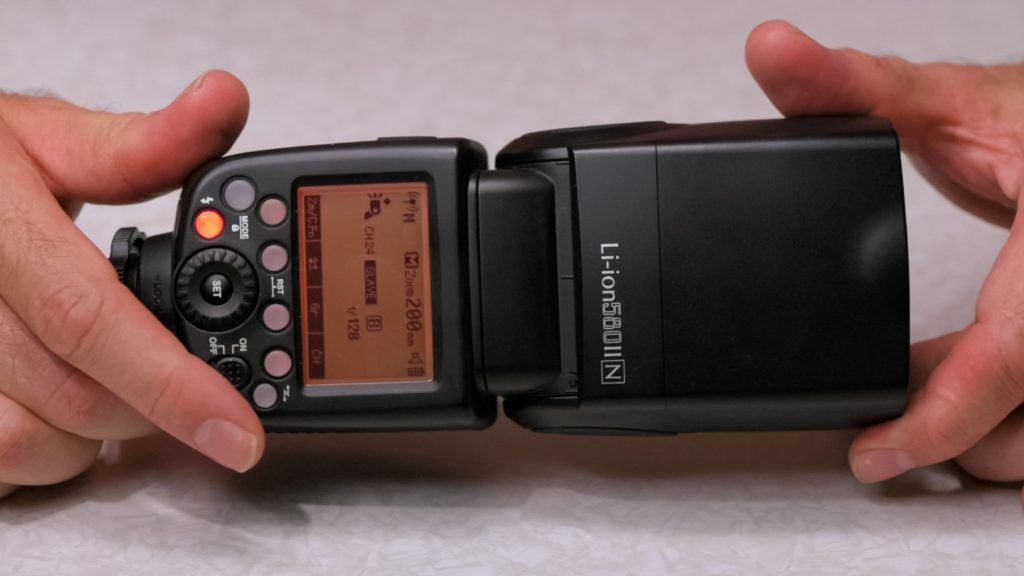
The Last thing we need in terms of photographic equipment is light source. I find a simple speedlight flash is best. I’m using a PixaPro 580II flash and Pro ST-4 trigger. They really are great little flashes that won’t break the bank. Both are available from https://www.essentialphoto.co.uk

Items to create the setup
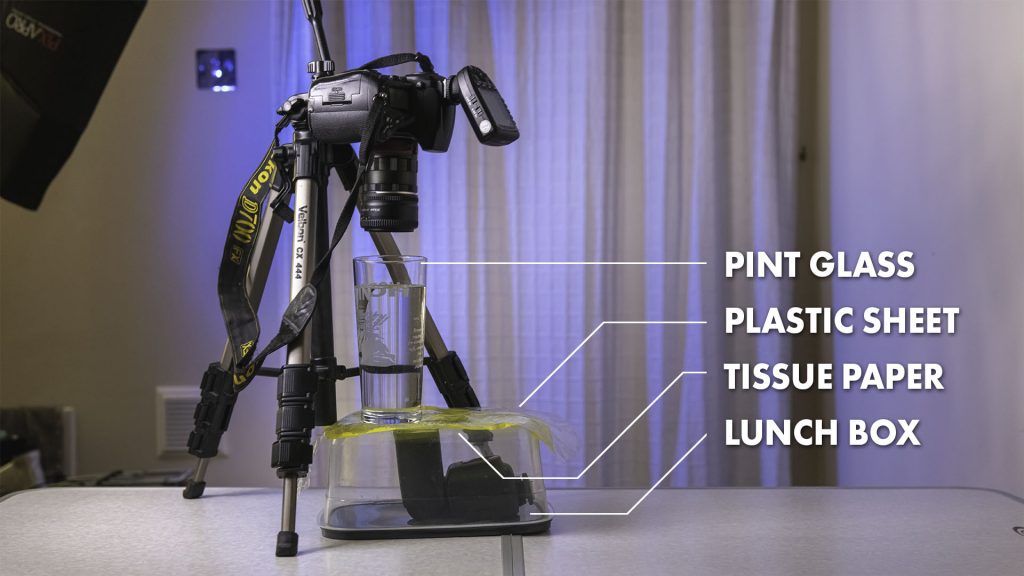
With all the photographic equipment gathered, now we need the items to create the photograph. You can use anything you have in the house, but for my particular setup I used the following:
- A pint glass. A tall glass keeps the water surface well away from anything you use as coloured material or background.
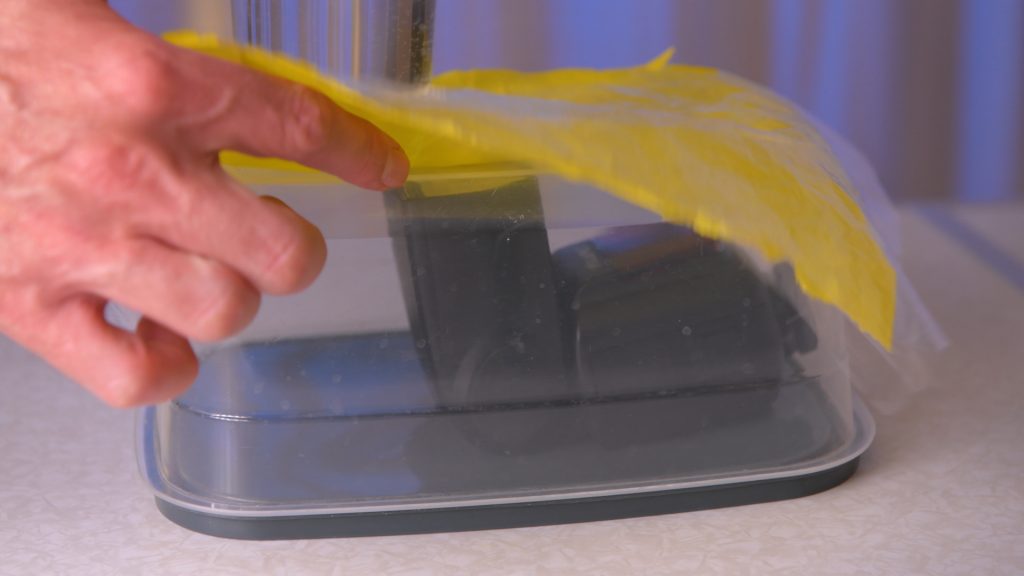
- Something that the flash can fit in and the glass can then rest on. I used my lunch box. The flash can be sealed inside so there is a bit of safety as we are playing with water around electronics.
- Something to create pretty colours. I’ve got tissue paper, but you can use thin wrapping paper, sweet wrappers, anything colourful that’s not too thick so that light can’t get through it.
- water and oil!
Put that all together with the equipment and we’ve got a working setup.
Optional extras
That’s all we really need, but some optional extras are:
- A second smaller glass that will fit completely inside the first, a shot glass is perfect.
- Some clear plastic to protect your coloured paper from getting wet if you’re clumsy like me. I used a sandwich bag, you could also use cling film.
- A torch.
- A skewer or cocktail stick
- Washing up liquid
A few things to note –
Use chilled water if possible, the colder the better. The more you warm oil up, the more it spread outs.
If you live in a hard-water area like me, you might want to use distilled water as otherwise it can look a bit murky when lit from below.
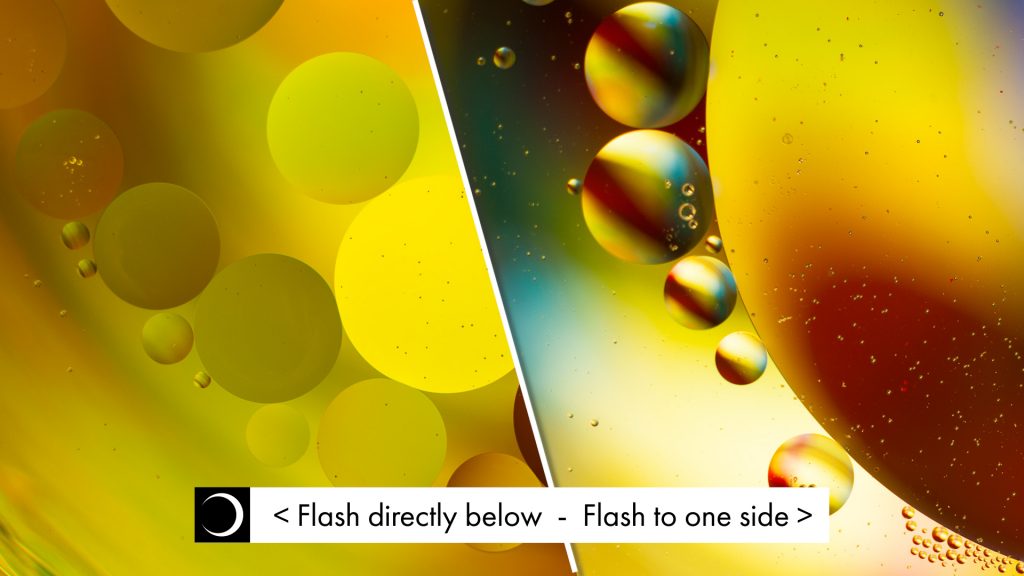
Don’t put the glass directly over the flash – that tends to produce very flat lifeless images. For a starting point, put the glass just beside the edge of the flash head.
Preparing the oil and water
To add the oil to the water, I use a skewer or cocktail stick which is dipped into the oil, then used to drip very small drops on the surface of the water. Once you’ve dripped a couple of drops, you can dip the tip of the skewer multiple times. This forms much smaller droplets.
If you want to really make the oil bead up and hold shape, before you add any oil you can add the tiniest drop of the washing up liquid to the water.
This really does have an incredible effect on the droplets BUT you don’t want much at all as it can also make the water cloudy. I’d suggest you try both with and without. I will typically dip a skewer into the washing up liquid and then stir it into the water. That’s how little you need.
Setting the camera’s focus
Focus is critical: First, set the aperture as wide as it can go, which is the smallest f number on the lens. That allows the most light through the lens into the camera so we can see clearly. Once you can see, adjust the focus ring slowly until the oil droplets are sharp.
If you go from one extreme to the other of the focus ring and can’t get a sharp image, you might need to raise or lower the camera a bit on the tripod and try again. If you’re struggling to see, shine the torch through the side of the glass at the water level. It’ll form highlights on the oil bubbles so you can see when they’re sharp. Once we have achieved focus, we can forget about it unless we change the water level, so we can now put the aperture to whatever we want to use, which brings us to the next step:
The camera exposure settings
I received feedback from a previous video that I did not give specific camera settings to create the correct exposure. I always reply to this that you should not get too caught up in following another photographer’s exact settings. Variations in the ambient lighting and equipment used mean they may well not work for you.
Aperture (f-stop)
That said, some things are constant: Macro photography always has a very small “depth of field” – that is, how much in front and behind the focus point will be acceptably sharp. The higher the magnification, the smaller the depth of field gets and it can get tiny. With our macro tubes in place, we’ve increased the magnification a lot. As you increase the f stop number, the lens aperture gets smaller, increasing the depth of field.
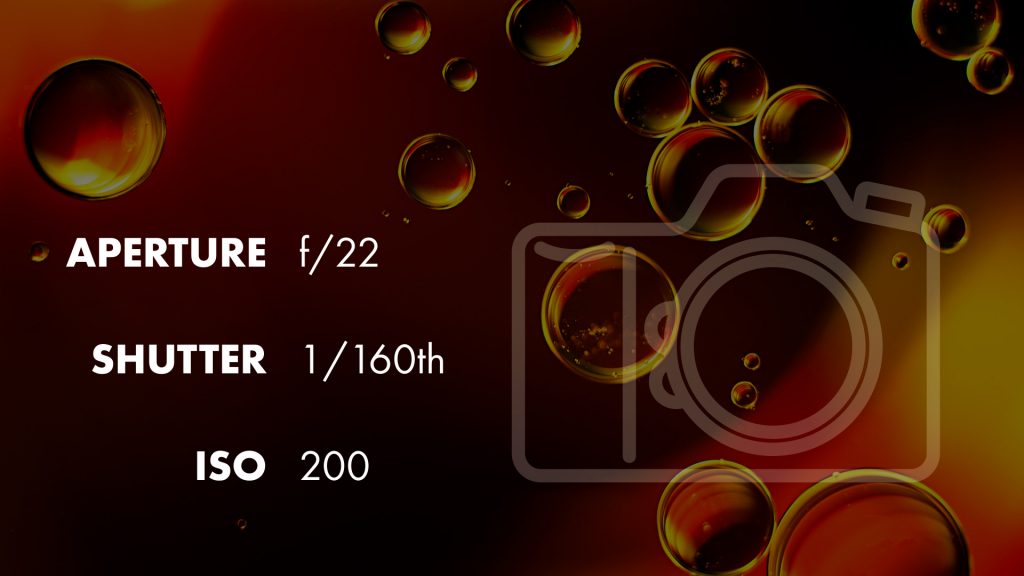
I went straight in with the smallest aperture on this lens which is f22. I know that I will have a little bit of “spare” focus depth, in case it’s not all perfectly aligned. Not only will that will give the maximum depth of field but also restrict the amount of light that gets into the camera. As the flash is only a few inches away, that’s going to be a benefit.
Shutter speed
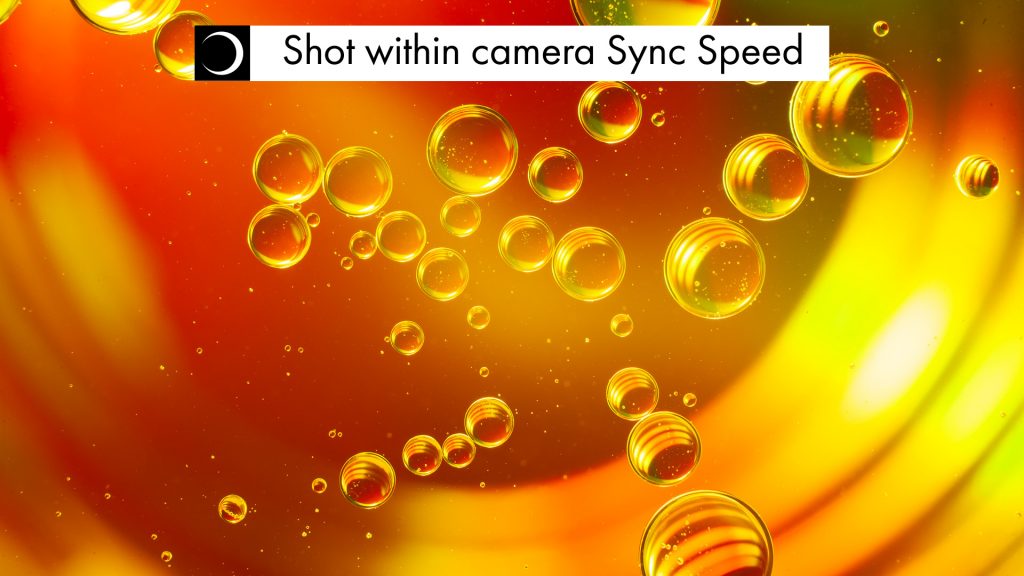
When selecting the shutter speed and working with flash, one important consideration is the shutter speed. All Cameras have a maximum shutter speed that they can work properly with normal flashes, known as the “sync speed”. There are ways around this, such as employing High Speed Synchronisation (HSS). That is outside of the scope of this article though. It varies between cameras but if you’re not sure what yours is, 1-160th is usually safe.
If you step outside of the Sync-Speed, the shutter will still be moving across the shutter whilst the flash is illuminated. This will cause a black band within the frame.

ISO
I set my ISO to 200. Again it gives a little wiggle room for adjustment if needed. In laymans terms, ISO controls how sensitive the camera is to light. The lower the ISO, the less sensitive it is, so the resulting image will appear darker. Increasing the ISO will make it more sensitive and the image brighter, but it will also lower the quality of the image progressively the higher it gets due to the way the sensitivity is increased.
Flash settings
As these types of shots are entirely abstract, there is no “correct” answer to this. Due to the close proximity between the camera and the off-camera-flash, I simply start at the flashes lowest power setting and work my way up until I get an image I’m happy with. As it’s so close, you really shouldn’t need much power, but the coloured material you’ve used will affect how well the light is transmitted. If you hit maximum power from your flash and your image is still too dark, you can increase the ISO or open the aperture up and try again, or use thinner coloured material. If you are at lowest power and the image is too bright, you can lower the ISO or close the aperture down, or add another layer of coloured material.
And that’s all there is to it really. From this point it’s just a case of playing around and seeing what you capture!
A few creative ideas you can try are: adding the second smaller glass inside the first – that can give a really defined edge to the oil droplets.
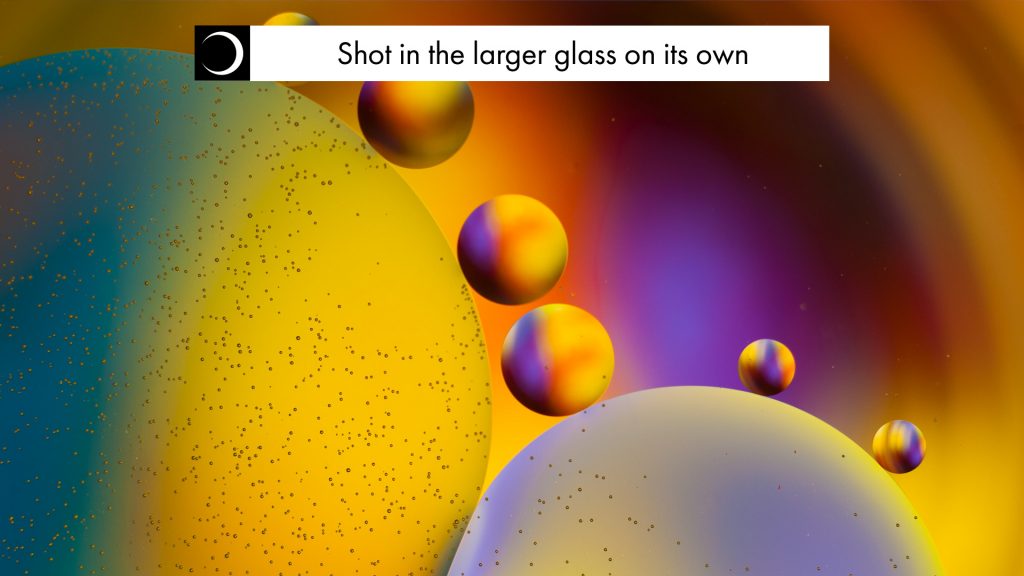
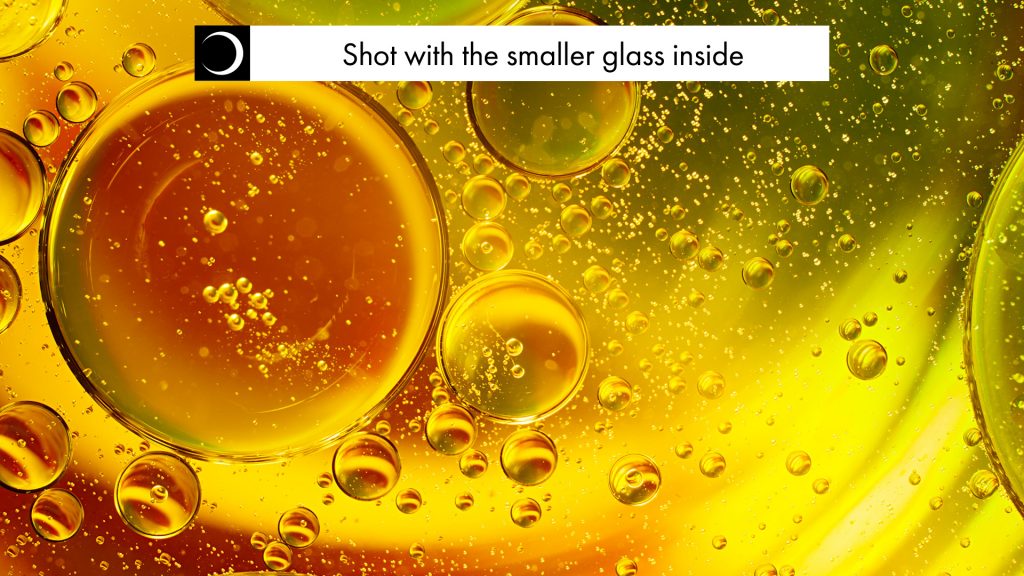
You can also put other objects in the bottom of the glass to create interest in the background. Changing the position of the glass relative to the flash will give more or less depth to the oil bubbles. Mixing up different coloured material underneath can create wonderful patterns in the oil droplets… You could even try stirring the water vigorously and snapping away. Just get creative with it!


